 |
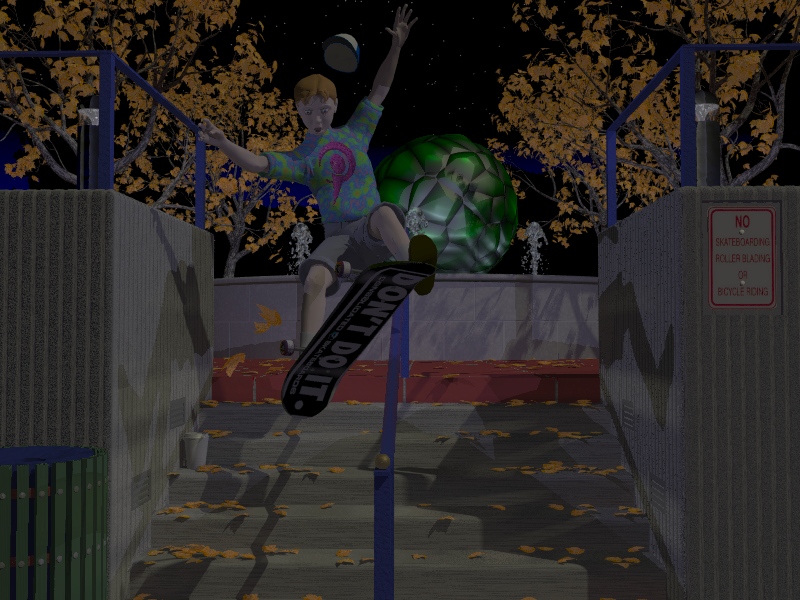
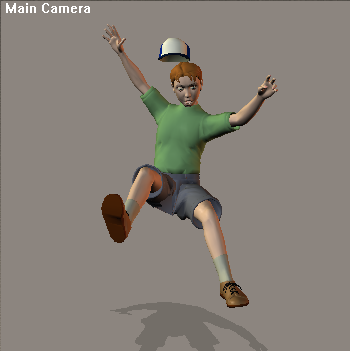
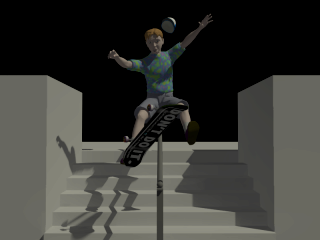
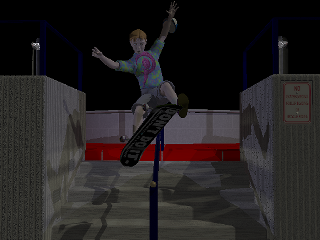
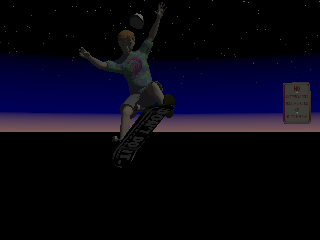
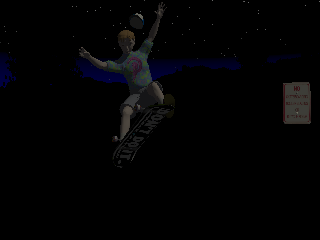
It all started with posing the boy in Poser. For some reason in the conversion from
Poser to POVRay it got flipped from right to left.
This is the same boy model I used for Ahhh, Sunlight
so I think of him as the same boy. |
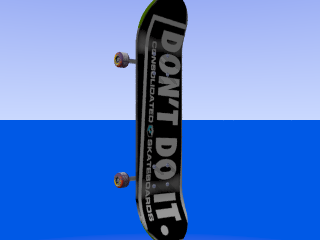
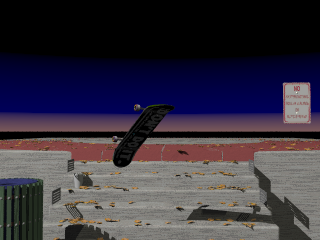
Now I needed a skateboard. At first I was going to just go grab a
pre-made mesh, but my desire for originality overcame me and I determined to
make my own with CSG. So I surfed the web researching skateboards and how
much they've changed since I was a kid. As I mentioned in the submission text
I found the "Don't Do It." and fireball wheel design while researching and just
had to use them.
Getting the curves on the nose and tail of the board was quite tricky.
|
 |
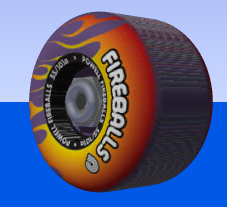 |
A close up of a wheel. I spent way too much time on the wheels, given how
little their detail can be seen in the final image. It's made of 15 primitives. |
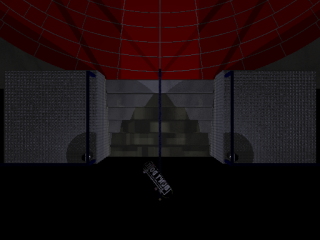
Next I built up the stairs and railing around the boy and board. His pose and
position were fiddled with throughout the rest of the construction.
The texture on the boys shirt is the same pigment map as that on the sphere used
in the default scene template with the gradient pattern replaced by a granite one.
Yes, I did position the board to hide his dorky, un-skater like shoes.
|
 |
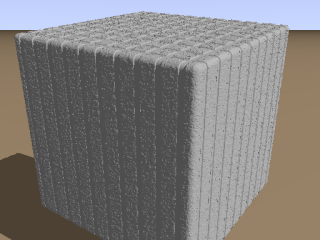 |
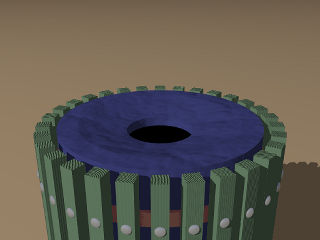
Cities are always trying to find something interesting to do with cement
in public places so things are still cheap to build, but don't look like industrial
factories. Since I was going for that 'Generic City Public Place' look
I too needed to find something interesting to do with cement. I settled on this
'raked' looking isosurface function I created. |
| I had planned foot lights for the stairs, but I needed something to light
the boy too, so I created these 'modern' looking outdoor area lights of the
type I've often seen around San Francisco. I added a more realistic texture to
it later. |
 |
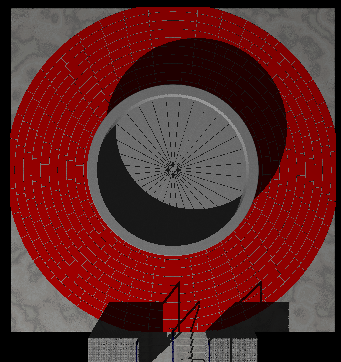 |
Time to start working on the background. Here I'm positioning the fountain and checking
the layout of the CSG 'bricks'. The lines fanning out in the fountain are from 'negative'
boxes that I used to carve out the blocks that make the fountain walls. They stick down
slightly further than the negative cylinder that hollows out the fountain, so they
carve grooves in it's floor. |
| Another top view, this one a light check. You can see the foot lights (slightly
yellow in color) and the outdoor lights (slightly bluish) interacting.
|  |
 |
All the parts starting to come together with a mish-mash of shadows, as you
often find in public places where night lighting is almost an afterthought.
|
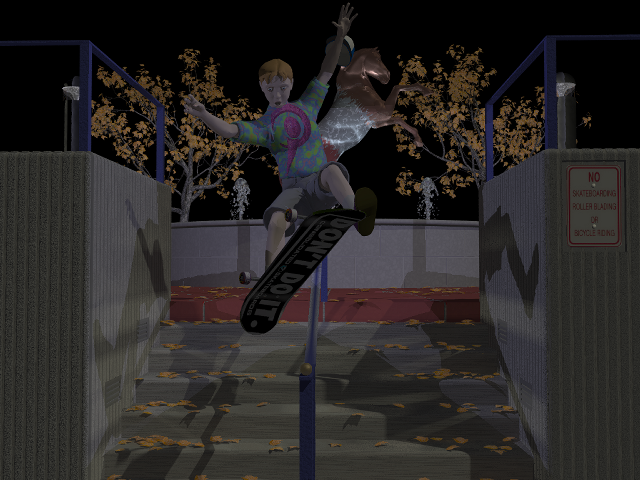
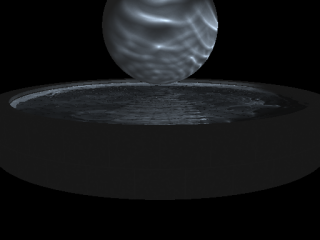
| I wanted the fountain to cast light patterns on a statue in it's middle, so I
needed to create appropriate surfaces and lights to cast such patterns. I went through
many, many variations before settling on this: isosurface water with spotlights
underneath shooting photons up towards the center.
|
 |
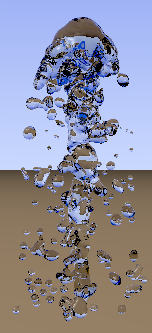 |
It wouldn't be much of a fountain without water spraying somewhere, so I made
a custom macro to produce these. It was harder than I expected, and probably the
most fun I had while making this image. |
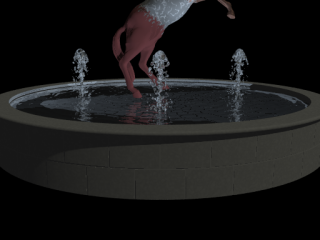
| Positioning the sprays. The statue was originally going to be a horse, surface
distorted using my own POVRay patch. Unfortunately it was taking so long to render
I had to drop it at the last minute. I don't think the isosurface sphere I
substituted it with plays the photons from the fountain as well as I'd hoped.
|
 |
 |
An outdoor garbage can of the type so often seen in California public parks
in and around the '80s. |
| A simple take out coffee cup. I wanted to add some stains to it but ran out of time
|  |
 |
"My god... it's full of stars." Or at least a bunch of spheres of
various sizes scattered around randomly in the background. It was tricky
to get them to fade out as they got closer to the horizon.
|
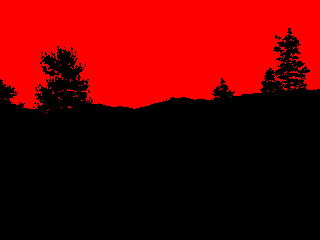
| Here's the original picture and the mask I made of it and it's use in the
render. To use it I mapped it onto a tall, wide box located behind the fountain
but in front of the stars with the index for Red set to transparent in the pigment. |

|
 |
Working on the macro for scattering leaves around. Essentially it shoots
rays down from the sky and puts a randomized leaf where it hits, but it's
less likely to put a leaf near the center of the stairway. Yes, the walls
are missing but the grates over the foot lights aren't. |
| The image mapped onto the boys shirt. It's a rendering using the custom
patch to POVRay that I made and was going to use on the horse statue. You can
see more examples and find out what it does here. |
 |
|
|