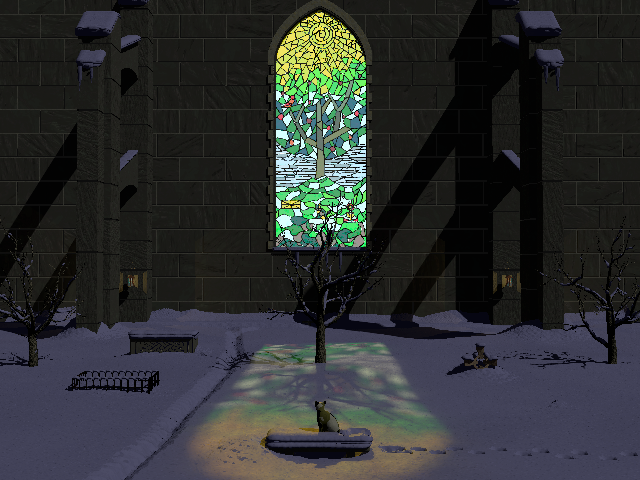
This is the image submitted to the IRTC. Hopefully I'll render a bigger one with anti-aliasing soon, but as it was this version finished rendering at 11:47pm on the final day of submitting (April 30th) while I was typing up my submittal form and putting together the .zip file. Then as I was going to the site to upload it, with 2 minutes to spare, I thought, "Oh no! What if they're on Central or East Coast time!" Fortunately they weren't and I got in just under the wire.
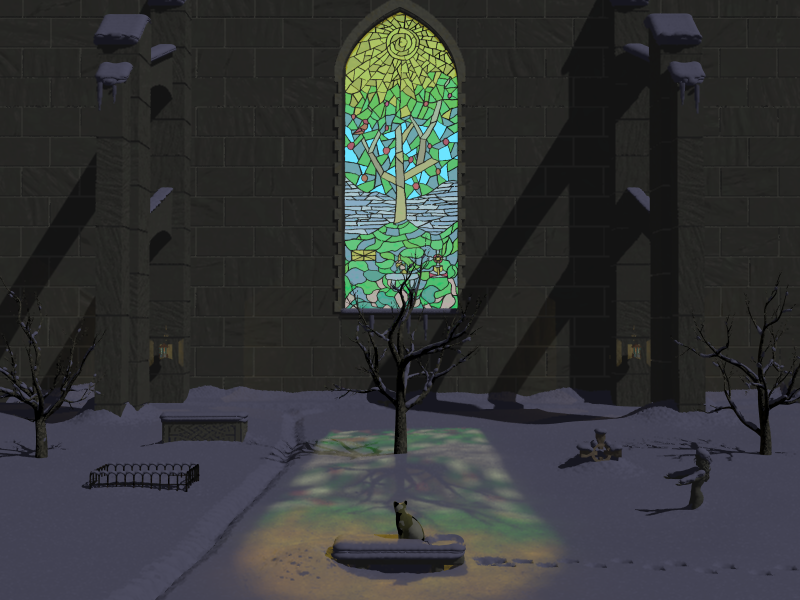
Here is a full sized antialiased version of the same image, you can see how the quality was hurt by my last minute rush to complete it. If I had submitted this version I probably would have placed in the top 10 (it placed 11). My own fault.
I am a programmer by trade, so Povray's scene description language is right up my ally,
once I found my way around it's idiosyncrasies. I love that it allows me to be visually
creative using my greatest pleasures, imagination and code.
Here is the submition text doc Basking.txt.
It has some in depth comments on how the image
was created and what the various parts are (isosurfaces, CSG, etc. etc.). I'm not
going to re-hash it all here, but rather provide images of the various stages
I went through with some commentary.
 |
Here is the final scanned in and colored version of the window. I finished drawing it the morning of last day I could submit to the contest which was a really bad idea. Because I had so little time to clean it up, break it down into masks and code it into the pov file I didn't get to really pollish it up like I would have liked. As a result the rendered colors aren't quite right and much of the detail is lost in the finished product. Ahh, well another lesson learned. |
| One of the very first image checks testing the placement of the window, isosurface benches, and the back light. Yes, the far bench is in the final picture, you just can't see it. | 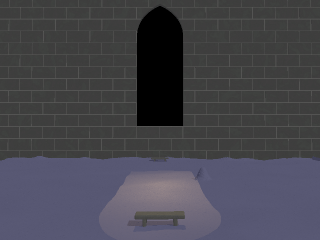 |
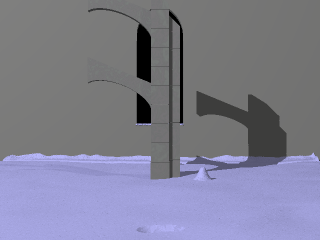 |
Building a flying buttress with the work light on. Note also more detail in the snow height-map with the background path and pit where the foreground bench is located. The pile just right of center middle was used as a maker. |
| A CSG Lamp. I had fun making this while watching TV with my wife one night. It's cool how you can make complex objects with the clever use of primitives. | 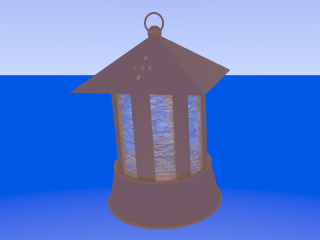 |
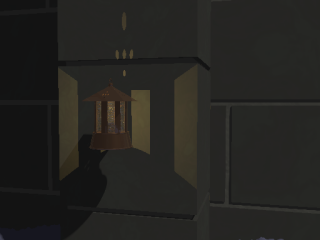 |
A lamp in place. I really built these to highlight the rough surfaces of the isosurface stone I was going to use, like in my previous entry Ahhh, Sunlight. However, combining all those stone isosurfaces with the area lights from the sky and the area lights/photons from the back lit window PLUS the 25 glass isosurfaces for the window itself and things just got too slow. So I dropped the isosurface wall, which didn't read well from so far away anyway, and kept the lamps. I was also planning to make a bracket for them someday... |
| Now things are really coming together. I'm playing with my first version of the 'snowing' macro that dumps blobs onto things. This version was based heavily on one used by Tom Melly in his entry for the January-February 2002 competition, Lucy's Arrival for which he won 'Honorable Mention: Artistic Merit'. (Hey, borrow from the best I always say :-) This version was too lumpy for my taste so I later smoothed it out and added a layered effect. | 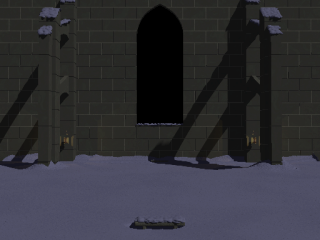 |
| An isosurface icicle. Another fun thing to build, though I never really got the glossy, clear, 'wet' texture that I wanted on it. | |
| Getting better and better. I've got a really nice layered effect on the programmatic snow. The icicles are up. I've imported some trees from Andrew Clinton's excellent Spline Tree include and heaped snow on them. There's a test window showing the photons at work and some more props from Ahh, Sunlight. | 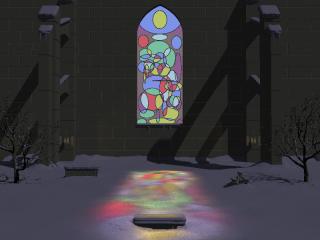 |
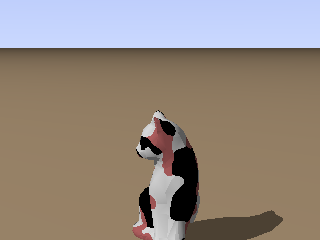 |
Imported the cat, now I'm working on making it a calico. |
| Ok, I've brought in the cat and put its prints on the ground snow height-map, but now I need to put prints on the snow on the bench (unless it levitated up there). Problem is that the snow on the bench is a blob. So I took a sample of the cat's prints from the ground height-map, inverted it, brought it in and positioned it where I wanted it (shown here, a little too big and too far to the right). Then I flipped it over and put it in a difference CSG with the bench snow blob. Turned out better than I'd hoped. | 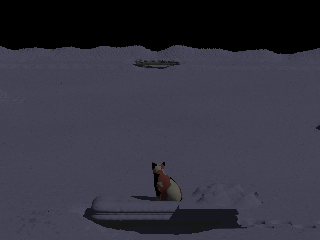 |
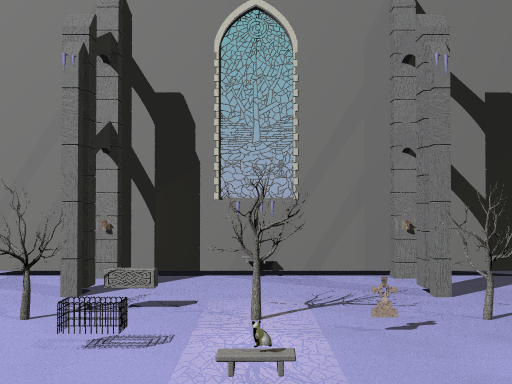
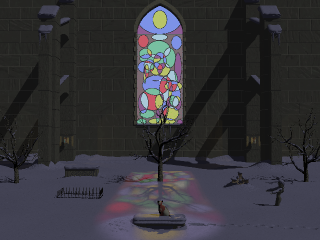 |
All together now, just awaiting the final window. Notice the the window has a frame now, a nice touch suggested by my step father. It turned out to be not as hard as I though it would be but getting the arch over the top was a trick. Also notice the statue in the lower right that got cut from the final. I wanted to add angel wings to her but just never got the time and didn't feel she really fit in. Good thing to, if I'd kept her the final render would have taken too long. |
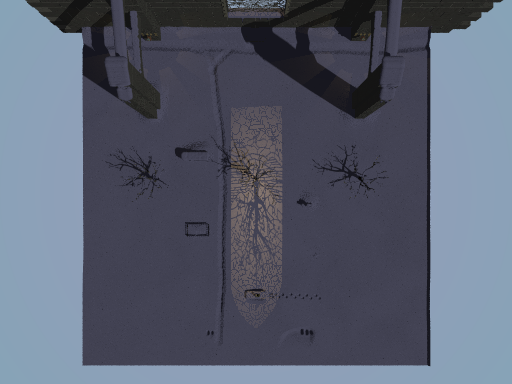
A fun top-down view I used to help position things. Note the missing glass in the window for speed.
The ground snow height map (about half size).
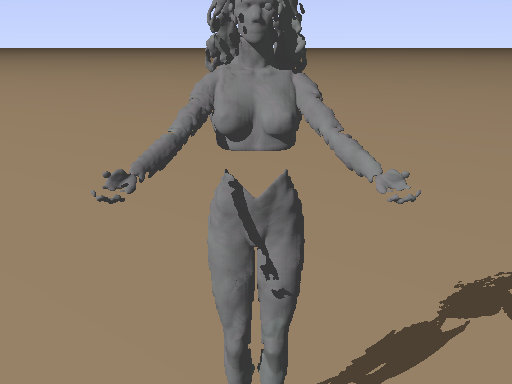
At one point during the journey to make this image I wanted to make a statue, but I didn't want it to look like a Poser model with a stone texture. So I experimented with 'stoning' a Poser model by shooting zillions of little spheres at it from all angles and making a blob. As you can see the result is kind of odd. In this example the spheres were only shot from the front (so parts of the hands were blocked by the fingers) but for some reason they would never hit the 'Abdomen' part of the woman union.
When in doubt, go surreal I always say.