 |
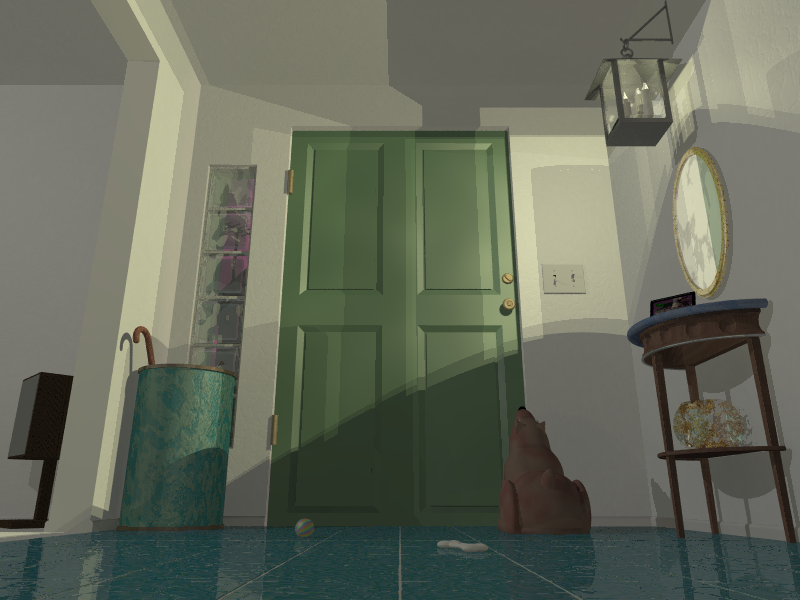
Here is the first construction image I saved. I wish I had one of the door
and hardware under construction, they kind of evolved with lots of tweaking
to get the feel just right. In the time between my entries I worked a lot on the
StoneWall isosurface macro I had written for my first entry, that work payed off
here when I created I nice isosurface tile floor by simply changing a few settings
and rotating 90 degrees. It took more time to get the texture just right than it
did to lay the isosurfaces. Ahh reusable code, thou art so handy.
For the first time in one of my scenes I had color balancing issues, there
wanted to be lots of brown; the door, the dog, the side table etc. etc. And I could
never get the wood texture on the door just right, so later I made it green. |
| Next I worked on the lamp with beveled glass and 'real' hollow glass
bulbs. Here I'm measuring the lamp for plastic 'candle sticks'. |
 |
 |
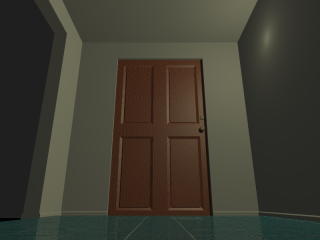
Lamp in place and the first Radiosity check. I never went back to regular
lighting after this. I was planning this scene to be rather simple so I was hoping to use
lighting to bring it out a little, create interesting shadow patterns and
maybe use radiosity/photons. Radiosity worked well, but the photons would have
taken more time than I had to get working. Besides I hadn't planned
the position of any lights to utilize photons to their best advantage. Oh well.
I've also bump mapped the walls here. I noticed that with radiosity you have to use
much bigger bumps to get them to stand out (shadows get washed out easier with
radiosity). I toned it down and flattened it some for the final image. |
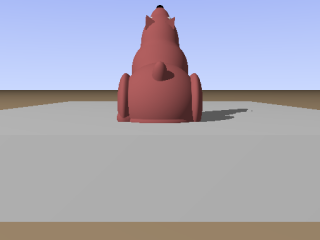
| The scene would be meaningless without the dog, so he was next. My big blob
learning experience. I had made the glass bulbs in the lamp with 3 of them
(for each bulb) and I had used them before in a macro to lay 'snow'
in my Basking image, but nothing like this. They're fun. He's not very realistic
but he's definitely a dog, and given my 3D modelling skills (none) I'm quite
happy with that. |
 |
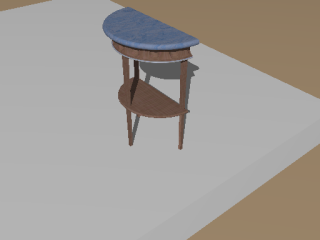 |
Now I needed to start filling out the scene to give it life. First up, a
side table. The long tapering legs turned out to be the hardest part, I'm
sure there is a better way to do it than the one I ended up with, but hey
it works. |
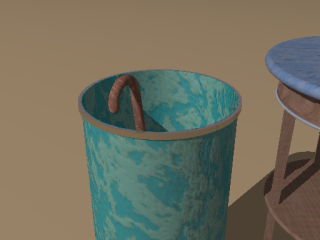
| The umbrella stand was next, the cane didn't come until later but I used
the umbrella stand for a size reference (and the side table as a size reference
for that). |
 |
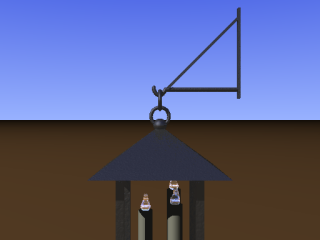 |
I spent an inordinate amount of time working on that HOOK for the lamp. I
wasn't satisfied with simply taking a sliced torus and stretching it, I had
to use a sphere sweep so I could tweak it just right. Did it make a difference
to the final image? Not at all, but I learned about sphere sweeps.
And check out those cool glass 'flame' bulbs! |
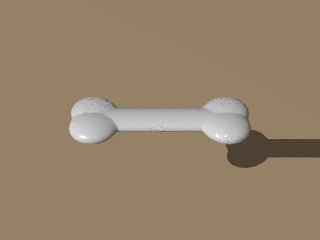
| The dog needed some toys to ignore, to highlight his loneliness. Here's
the bone, made out of flattened blobs and bump mapped to look slightly chewed.
Those of you who use Povray for Windows will probably recognize his ball
as the sphere included in the Basic scene template. I wasn't being lazy, I
had considered making it look like the ball from the Pixar short "Luxo Jr.",
but I decided this one would be more topical.
|  |
 |
This is the only thing that wasn't made just for this image. I had created
it some time ago when I was first playing with isosurfaces and trying them
out in CSG objects. It renders slowly at the best of times, it's inclusion here
really slowed this scene down so I left it out most of the time. But I needed
SOMETHING on that shelf and time was running short. |
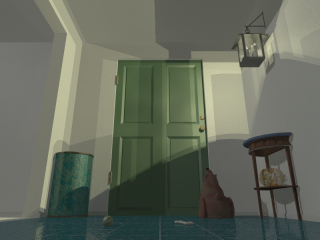
| All the props so far placed in scene. Ok, the floor is pretty well set,
now the walls need help. |
 |
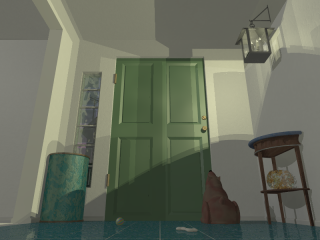 |
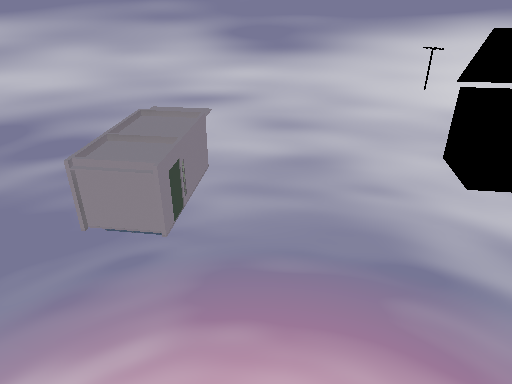
Now I was getting a little cocky. Things had been going very well
so I decided to create not just a window, but an isosurface hollow glass block
window and something to see outside through them. I already had the StoneWall
macro for making isosurface stone bricks I had used for the floor, how hard
could be to modify it to make
glass bricks? And to make those bricks hollow? Not so easy as it turned out,
I ended up making a new macro, based on StoneWall, for the bricks
and the whole production really ate up some time. But it looks good! I also
decided to add a sky sphere to the image, forgetting how those work with
radiosity, and it colored my whole scene blue/red! I ended up enclosing the
entire scene with walls (see an outside view below). I also placed the
wall/roof/aerial you can see outside by
hand from the cameras vantage point and in a hurry. You can see the rather
amusing results in the outside image as well.
|
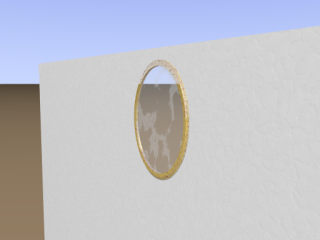
| Next up, an antique mirror. I'm quite please with how the 'gold leaf'
texture on the frame turned out. I haven't rendered it up close yet to see how
it holds up, but I'm living by the old '30 foot rule' from my theater days:
"If it looks good from 30 feet away, it's good enough." (Generally
the closest seats in a theater are at least 30 feet away from anything on stage.) |
 |
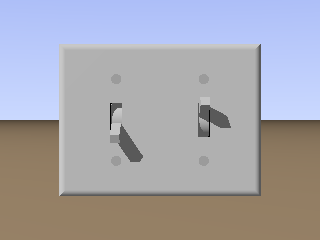 |
And now, some light switches. Not much else to say really. |
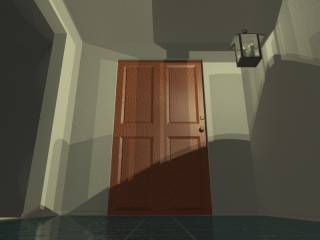
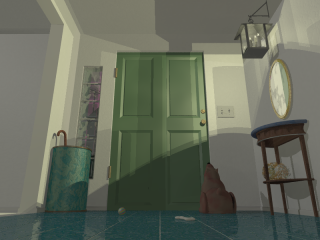
All those items put together, and a little adjustment to the
sky sphere to make it look more 'sunset' like out the window. I just
need something on the side table and something in the next room to
make it look 'lived in' and we're done. But I need to hurry, this
is the deadline day and my wifes 86 year old grandfather took a spill and ended
up in the hospital (he's fine now thanks) so it's a rush under duress
after we get back home.
Somehow the Glass & Gold thing had moved itself into the table leg too.
Very odd. |
 |
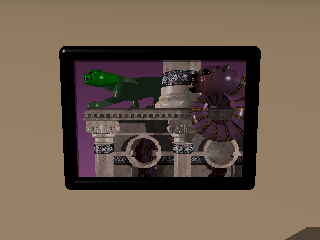 |
Using the a copy of the Plaque union I made for the light switch, I made a picture
frame. Originally I stuck one of my other renderings of this scene in the
frame to do that clever-but-over-done picture-in-picture thing. But I just
couldn't make myself do it, especially as a bitmap texture which I felt would
be cheating. So I used one of my favorite sample images from
the Povray scene's folder instead. It's turned towards the viewer to hide
the fact that there's nothing holding it up ;-) |
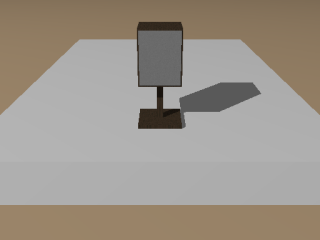
| Last and also least, the speaker. It was quick and not unbelievable. |
 |
|
|